
Alcan Spring Installation

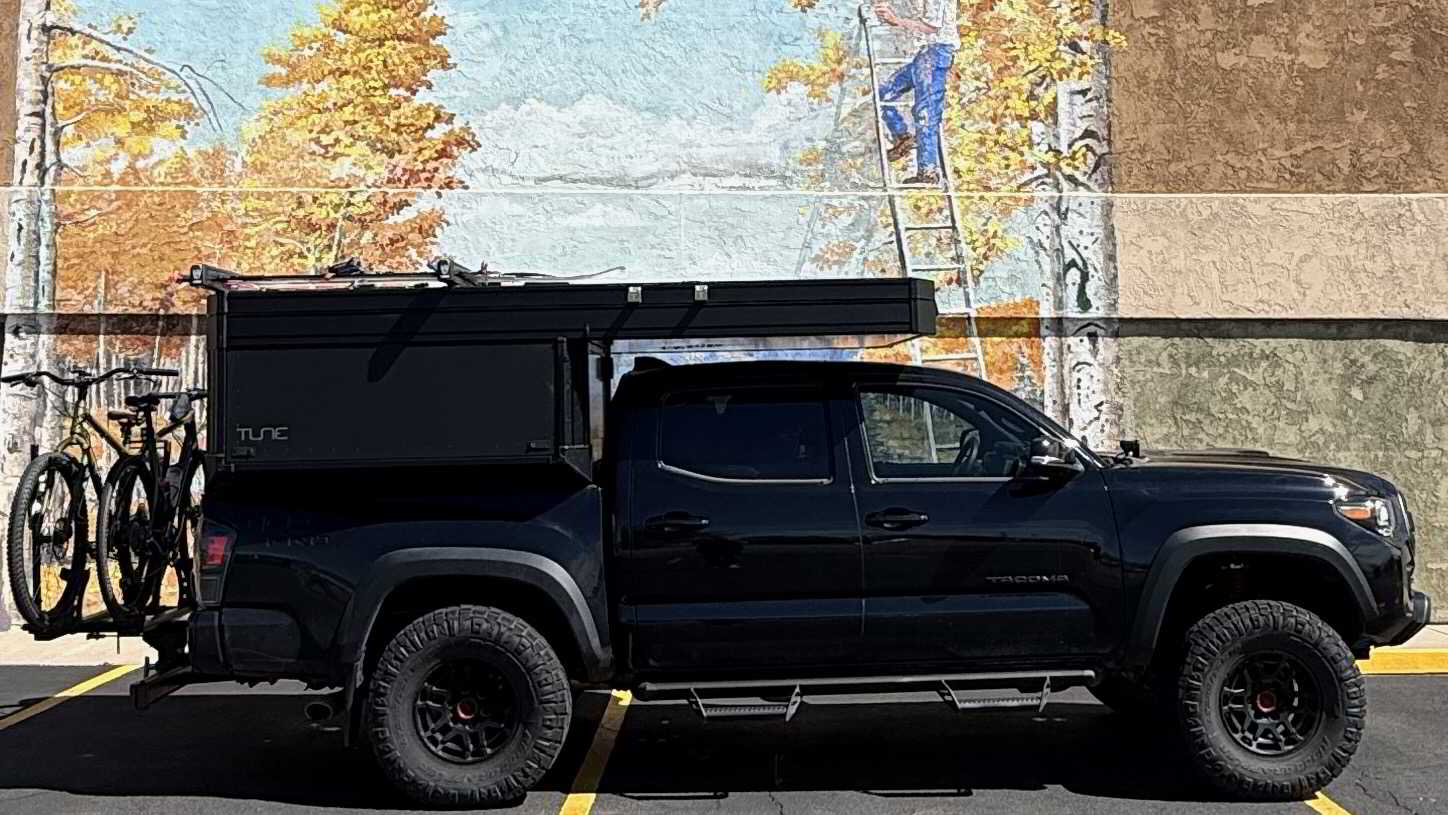
So yeah. A bit of a difference!!
Process
Keep in mind that the springs are custom made in the USA for your truck by Alcan Spring. The process is pretty straightforward! Start by emailing the guys over at Alcan Spring directly with the following information:
1. Basic Truck Information
You need to have all the information for the truck that you are upfitting!
- Year
- Make
- Model
- VIN
2. Weigh Your Truck
I wish that I would have gotten my truck's weight before installing the Tune M1, but I didn't know how easy it was! Knowing the weight of your truck, with the normal gear inside, is critical for the guys over at the shop to recommend the correct spring. I recommend going to a CAT Scale. They can be found at almost any truck stop in the United States. Just pull onto the scale and they will give you a sheet that looks like this:

What you are looking for is the axle weight. Provide that to the guys over at Alcan.

3. Lift
If your truck has been lifted, you should provide that information to Alcan. In my case, the truck had a 1.5" lift. They were able to remove the blocks and have the springs provide the lift instead!


Result
I am really happy with the result. The following issues went away after getting the new springs:
Ride Quality
I was expecting the truck to ride quite a bit rougher, but it was the opposite. The truck rides way better! I think that the springs were so overloaded that they were bottoming out and unable to absorb the bumps as designed.

Leveling
This was actually what I was most excited about fixing! I think that the truck looks much better without the squat. I could tell an immediate difference when I got in the truck. I didn't even have to move. Just by looking over the hood, I could see that the truck was sitting way flatter.

Yawing / Rolling
There’s a lot less yawing/rolling side to side. I didn't realize to what extent this was happening until the new springs were installed.
Bucking
I found that some roads with rhythmic rolling bumps would cause the truck to "buck". Interstate 229 south of Sioux Falls and the San Mateo Bridge near San Francisco instantly come to mind. Slowing down and varying speed were the only options to make the bucking stop. I have driven both sections of road post-install and they do not cause the truck to buck anymore!
Bouncing
Similar to bucking, bouncing is a single bump/jolt. Think getting on and off bridges or hitting a pothole. The truck's leaf springs would feel like they were bottoming out in these scenarios. After installing the Alcan Springs, the truck acts like it did before installing the Tune M1.
Camper Movement
Right after the camper was installed I was watching it through the sunroof. The front would move up and down almost continuously. I learned to ignore it and it never caused an issue. Once I got the springs installed it pretty much went away. It still moves some, but it seems to move a little then stop. An unexpected surprise!
Summary
I thought that the above issues were just the result of getting a new camper and that they weren't going anywhere. I was shocked by the result to say the least. I can't find any negative side effects to adding the springs.
After Care
I wish the team over at Alcan would have let me know that there would be some work required by me after the install. I was lucky because I ended up having the tools needed, but it was just that, luck!
Here are the recommended things to do after install:
- Check the torque on leaf spring bolts after the first 50 miles
- Check the torque AGAIN on leaf spring bolts after another 50 miles
- Torque lug nuts at 250 miles
- Check the torque FINAL time on leaf spring bolts after 500 miles
- Torque lug nuts at 500 miles
- Verify the "Spring Bolts" have not backed off their marks.
Tools:
- Torque Wrench
- Deep well socket set with big sizes!
- Ratchet
Big and deep sockets are definitely worth mentioning again. The bolts are long, I was lucky to have a pass-through socket set, and the biggest socket was the needed 7/8ths. The "Spring Bolts" are another story. The bolts are huge, and I did not have the appropriate socket or adjustable wrench. Luckily, they never backed off their marks.

Don't skip this step!!! My U-bolts definitely needed tightening! It only takes about 5 minutes.
Cost Breakdown
The total cost was $1,668.80. A little pricey but I plan to keep the rig for some time! I could have saved $514.33 by installing them myself. Unfortunately, I don't have a shop available to use right now!

Other Upgrades
Alcan recommended that I upgrade the shackles and hangers to BAMF HD Hangers & Shackles next. They said this would stiffen up the rear of the truck even more. I am 90% highway, 10% off-road, so I'm not sure if this is necessary. I honestly wish they would have recommended this before the install because I might have just had them do it at the same time. They just really know what they are talking about and I trust them!

Alcan Spring Contact Information
- Website: https://www.alcanspring.com/
- Email: sales@alcanspring.com
- Phone: 970-241-2655


.png%3Falt%3Dmedia%26token%3D721f38ba-f544-40b0-8dcb-5793f1c2f30e&w=3840&q=75&dpl=dpl_5MNEGKgtVhGDTaSQtUTtovjXAPVv)