

How to Reseal the Tune M1
Here are the products I used or that were recommended by Tune:
- Reseal Putty
- Front Bed Rail Seal — Single 1" D-Bulb (Trim-Lok 1678)
- Side Bed Rail Seal — Double D-Bulb (Trim-Lok 402)
Finding the Leak
I was washing my truck one day when I noticed that the wooden shelf that holds my microwave and battery was looking damp — and starting to grow a little mold. When I went looking for how it was getting wet, I found a slow leak coming through one of the bed corners. Funny enough, it only leaked at the car wash; it didn't seem to happen when it was raining.

Bed Corner Reseal
Toyota Tacoma truck beds have a small gap where the back of the bed and the sides meet. This was great for me, because I used the gap to run all of the external wiring into the camper, saving me from having to drill any holes into my truck! The bad news is: these gaps can leak. Over time, mine did.

Rather Watch?
Resealing the Tune M1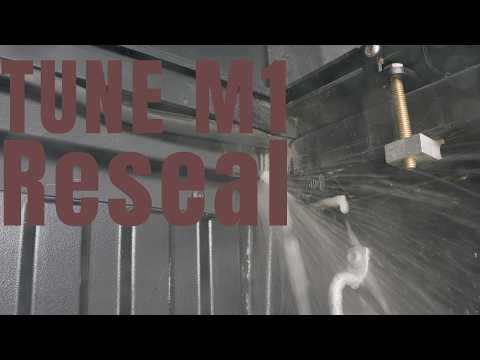
The process is easy, and the camper stays on the truck the whole time. After you have the reseal putty, all you need to do is:
- Open up the package (the putty is kind of gross)
- Scrape off any old, crumbly putty from the camper
- Reapply the new putty

This job took 30 minutes. I applied the putty and voila, the camper no longer leaks when the hose is pointed at it!
I used barely any of the brick. I think I could reseal the camper 10 times with what is left. The rest went into a Ziploc bag, and hopefully it stays pliable until the next reseal.


Front Weather Sealing
I also had a weather sealing issue. It looks like the glue that held the seal to the camper just got old. It doesn't leak at this point, so I am not going to touch it, but if you are looking to replace your seals, here is what Tune uses: a double D-bulb gasket on the sides, and on the front, almost always a single 1" D-bulb.

Final Thoughts
All in all, I am really happy with the weather resistance the Tune provides. I have never had a wet night. If this is all the maintenance that is needed, I am a happy camper!
Watch On YoutubeYouTube
Related Articles


Surviving Winter in the Tune M1
A complete guide to surviving winter van life in the Tune M1 truck camper — 103 nights, 10,357 miles, and 56 ski days across 11 states and 3 countries. Real-world tips on heating with the Truma VarioHeat, managing power with the EcoFlow Delta Pro, insulation, propane, parking, and living on the road all winter.